Test Build
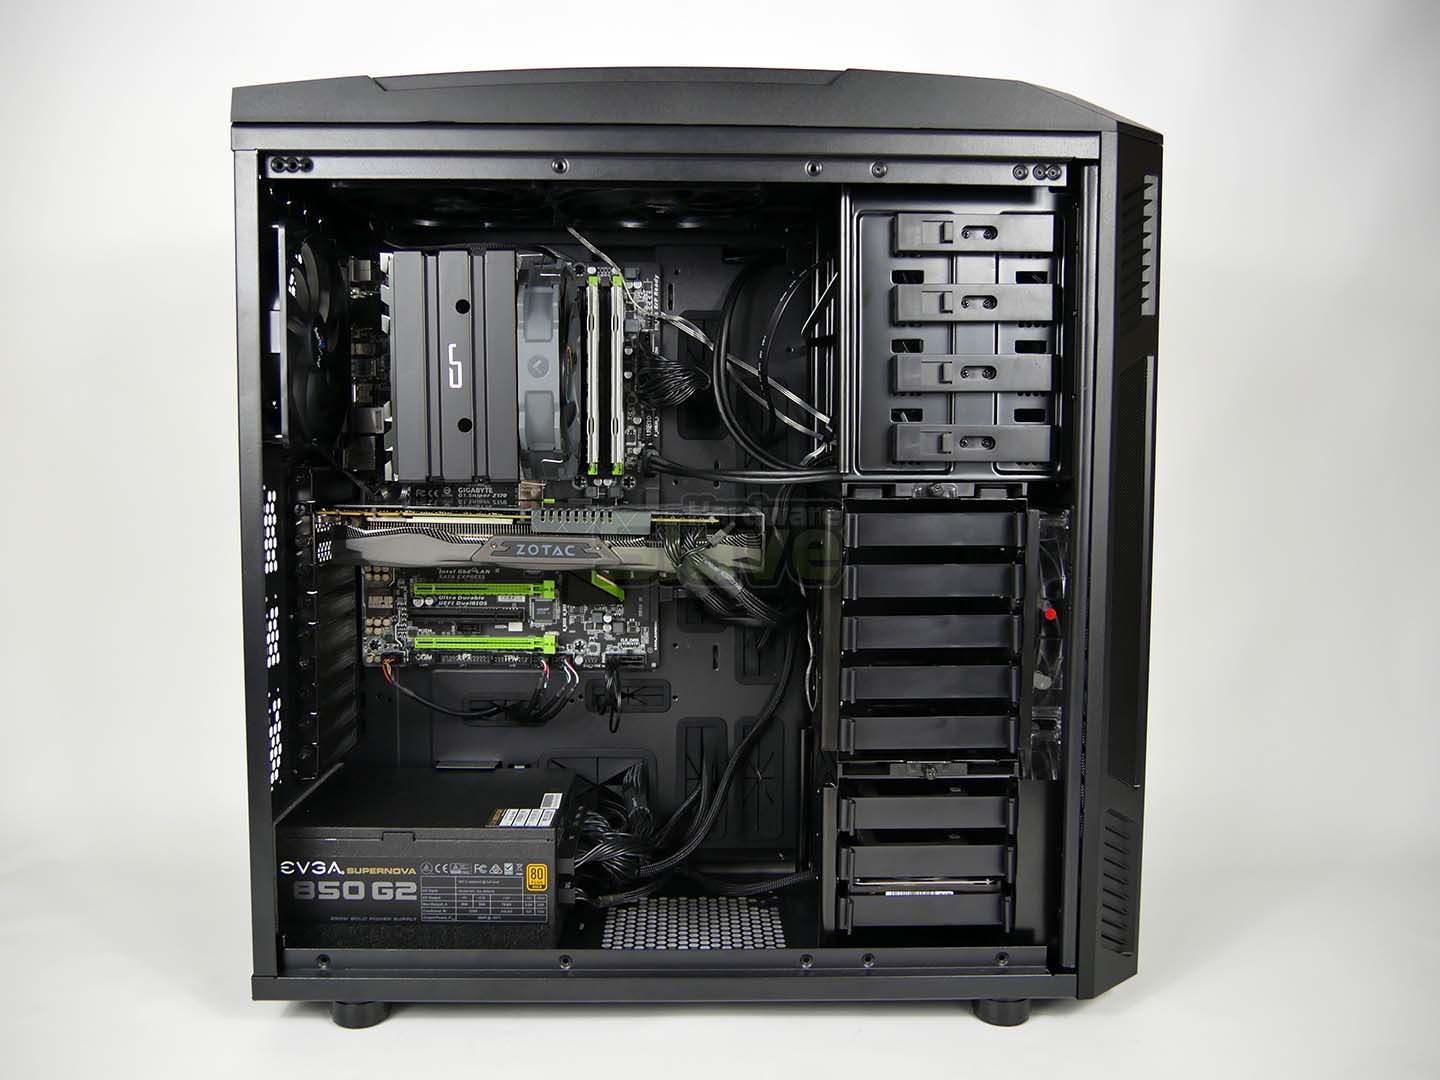
We used some of our current and most recent test components, including the Gigabyte Z170 G1 Sniper motherboard and the Cryorig H5 Ultimate CPU Cooler. We deliberately do not spend much time cabling though we used all the cable ties in this build due to the fan controller.
We only used a couple of ties to hold down a couple of cables at the back. We didn’t include an optical drive as we don’t use them anymore. This is the build used in the last few chassis reviews which can be found here.
| Test Setup | i7 LGA1151 |
|---|---|
| Processor | Intel i7-6700K |
| Graphics | Zotac Amp GTX980 Ti |
| Motherboard | Gigabyte Z170 G1 Sniper |
| Memory | Crucial Ballistix Sport LT White DDR4 |
| Drives | 2x Crucial MX200 500Gb SSD 1x Western Digital 4TB Red |
| Cooler | Cryorig H5 Ultimate CPU Cooler |
| PSU | EVGA 850W SuperNOVA G2 |
On with the test build shots;
As you can see, despite an ATX Form Factor; 30.5cm x 22.5cm, the Gigabyte Z170 G1 Sniper is still a little dwarfed by the Aerocool X-Predator II. This was always expected, but it’s remarkable when you see it installed for the first time.
From the front there isn’t much of a cable mess, everything fits and is positioned nicely for the installed components. The rear CPU opening is big enough for most cooler installations without removing the motherboard. We’ve installed a couple of SSDs and a HDD, though we didn’t cable the HDD as we normally place it as a dummy unit for test purposes.
Aerocool X-Predator II Full Tower Chassis Review
Packaging - 8.5
Features - 9
Build - 8
Component Compatibility - 8.5
Price - 9
Consumer Experience - 8.5
8.6
There is only one other thing we didn't quite like and that was the cables for the top I/O panel, there’s a lot and we think Aerocool have done a good job bunching them all together, it will take a little more time than normal to route them as you want. Once done, at least for us, we could forget about them and enjoy the chassis and the benefits the top I/O panel provides.


